I’ve been taking stock of my writer’s toolbox. This isn’t a one-size-fits-all topic, and I’m hoping to share as many tools, tips, and techniques as possible.
One of those techniques, which I’ve found quite helpful in my own work, has been visual outlining.
I’ve always been more of a plotter than a plunger. I like to get an overview of my story before I jump into the writing. I’m also someone who thinks visually, story-wise. Whenever I’m starting work on a scene, one of the questions I’ll ask myself is where the camera might go in the story’s moviequivalent (and yes, I just made up that word). So it makes sense that I’d think about my outlines visually, as well.
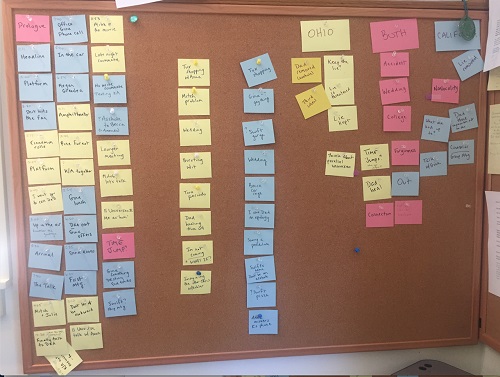
For starters, I’m a fan of the old school note-cards-and-corkboard method. I use one card per chapter, scene, or story beat, and also color-code to indicate POV, story thread, setting, or whatever else suits my purposes.
Here’s one of my works in progress. The story takes place in two different locations, indicated with yellow or blue, with pink cards for interstitials and other material. Ideas that I haven’t yet placed into the story are on the right, and the already-woven parts of the narrative are on the left. Like the story itself, outlines can always be works in progress.
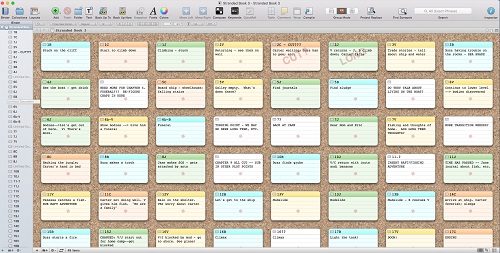
It’s also possible to tackle this method electronically. I have become a true fan of Scrivener (software for novelists), and one of my favorite features is their corkboard function. It’s easier than working with real cards and thumbtacks, and it integrates well with the manuscript in Scrivener. Although, to play devil’s advocate, I also like the tactile approach of a real bulletin board, and am always happy for a reason to get my eyes off the computer screen for a while.
Another aspect to outlining—and this wasn’t intuitive to me at first—is that it can be useful at several different phases of the writing process. Sometimes, when I’m in the middle of a story, or just after I’ve finished a first draft, I like to stop and take stock of what I have.
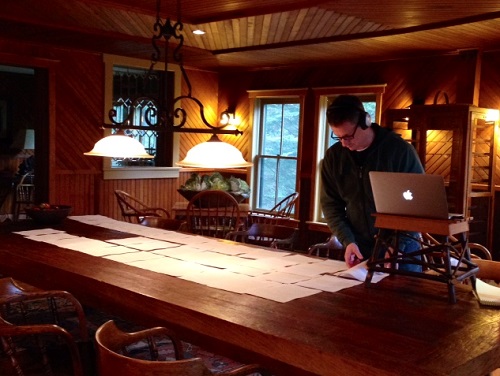
One way of doing that is to print and spread out my pages, then mark them up with different highlighters to indicate whatever I might want to track in the story: scene length, characters, internal monologue, etc.
If you don’t have the room to spread out, another (electronic) approach is the shrunken manuscript technique. Save your manuscript as a new file. Use the highlighter function to visually score whatever you’d like. Then shrink the whole file down to 25% or whatever size will give you a snapshot of the whole thing.
Depending on where you’ve focused your highlighting, you can see right away (for example) if one of your characters has disappeared from the story for too long; or if you’re under-utilizing a given setting; or if your action-to-narration ratio is off. The applications here are, of course, whatever you want them to be.

Speaking of Scrivener, the same company has a lesser-known product, Scapple, which is basically an electronic bulletin board. I love it, and use it in more ways than any other software on my computer.
 When I work with James Patterson, I start with a written outline from him. Almost always, I’ll adapt that outline into a visual spread with Scapple, to help me get to know—and to literally envision—the story as I move toward the drafting process.
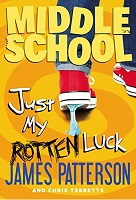
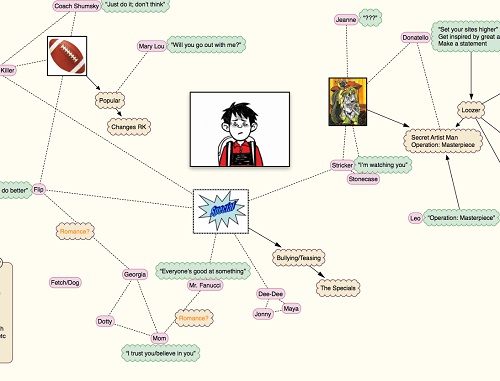
Here’s a story map I created for one of our collaborations, MIDDLE SCHOOL: JUST MY ROTTEN LUCK. If you look closely, you can see our main character in the center, one image for each of the three main plot threads, and lots of little bubbles: pink for characters, tan for plot points, and representative quotes in green. It wasn’t until I mapped the outline this way that I really saw the shape of the overall story for the first time.
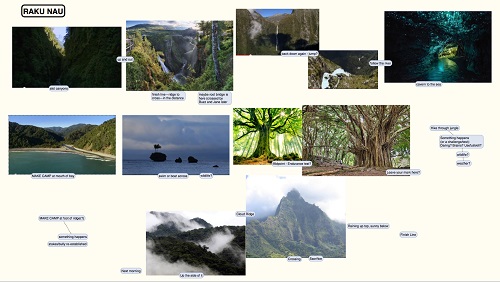
When I was writing the STRANDED series with Jeff Probst, I used Scapple to focus in on one sequence in particular: a journey our characters took across a remote island. I pulled images off the web and inserted notes to help myself get a handle on the various settings along the way, and also to share with Jeff what I was imagining for those settings.
These are just some of the visual tools I use in the writing process. What about you? I’d love to hear about any crafty ideas you all have, or techniques you use to get a handle on your stories.