One of the biggest mistakes I see aspiring picture book author-illustrators make? Jumping into their final dummy too soon.
In my picture book process, I go through many steps before starting full-size sketches, and each one shapes the story and makes it stronger. Doing the foundational revision work saves me a great deal of time and headache from having to redo compositions in later stages. In this post, I’ll walk you through the seven steps I took to go from idea to full-scale dummy for my picture book, Bela and Lily.
Interested in learning more about picture book dummies? See our guide on how to create a picture book dummy.
1. Finding the Spark
During school visits for Moon’s Ramadan, I shared my immigration story. When I spoke about being an ESL kid, I noticed smiles of recognition in the audience. Little ears perked up, and teachers often shared their own experiences with ESL. The strong emotional connection told me: this is a story worth telling.
2. Messy First Draft
I start every manuscript by journaling memories, such as the uncertainty of new places and the rush of making a new friend. Writers refer to this as “mining your memories.” From there, I choose the right picture book structure (traditional narrative, cumulative, epistolary, etc.). For Bela and Lily, I knew my friendship story would need emotional highs and lows, so I was immediately drawn to a traditional narrative arc. From there, I formulated my unpolished, messy first draft.
3. Pagination & Pacing
The glue that holds a picture book together is its rhythm and pacing. I paginate early, ensuring that each stanza or beat prompts the reader to turn the page, taking into consideration transformation, connection, or surprise. If I see a visual composition while reading, I’ll add a quick sketch directly onto the manuscript to capture it.
4. Revision Dummy
Once the manuscript is in a good place, I immediately want to see it in a picture book format, but not with art. I fold an 8.5 x 11 sheet in half to create a booklet. The unfolded page is one picture book spread. A 32-page book usually has 12–14 spreads. I print the text, tape it in, and focus on pacing and page turns, rather than the art. If inspiration strikes, I add a sticky note with a sketch.
5. Composition Brainstorm
With the manuscript set, I brainstorm 4–8 compositions for each spread. This is my research-heavy stage: gathering references, digging into historical and cultural details, and ensuring authenticity. My rule here: don’t settle for the first idea that comes to mind.
6. Thumbnails
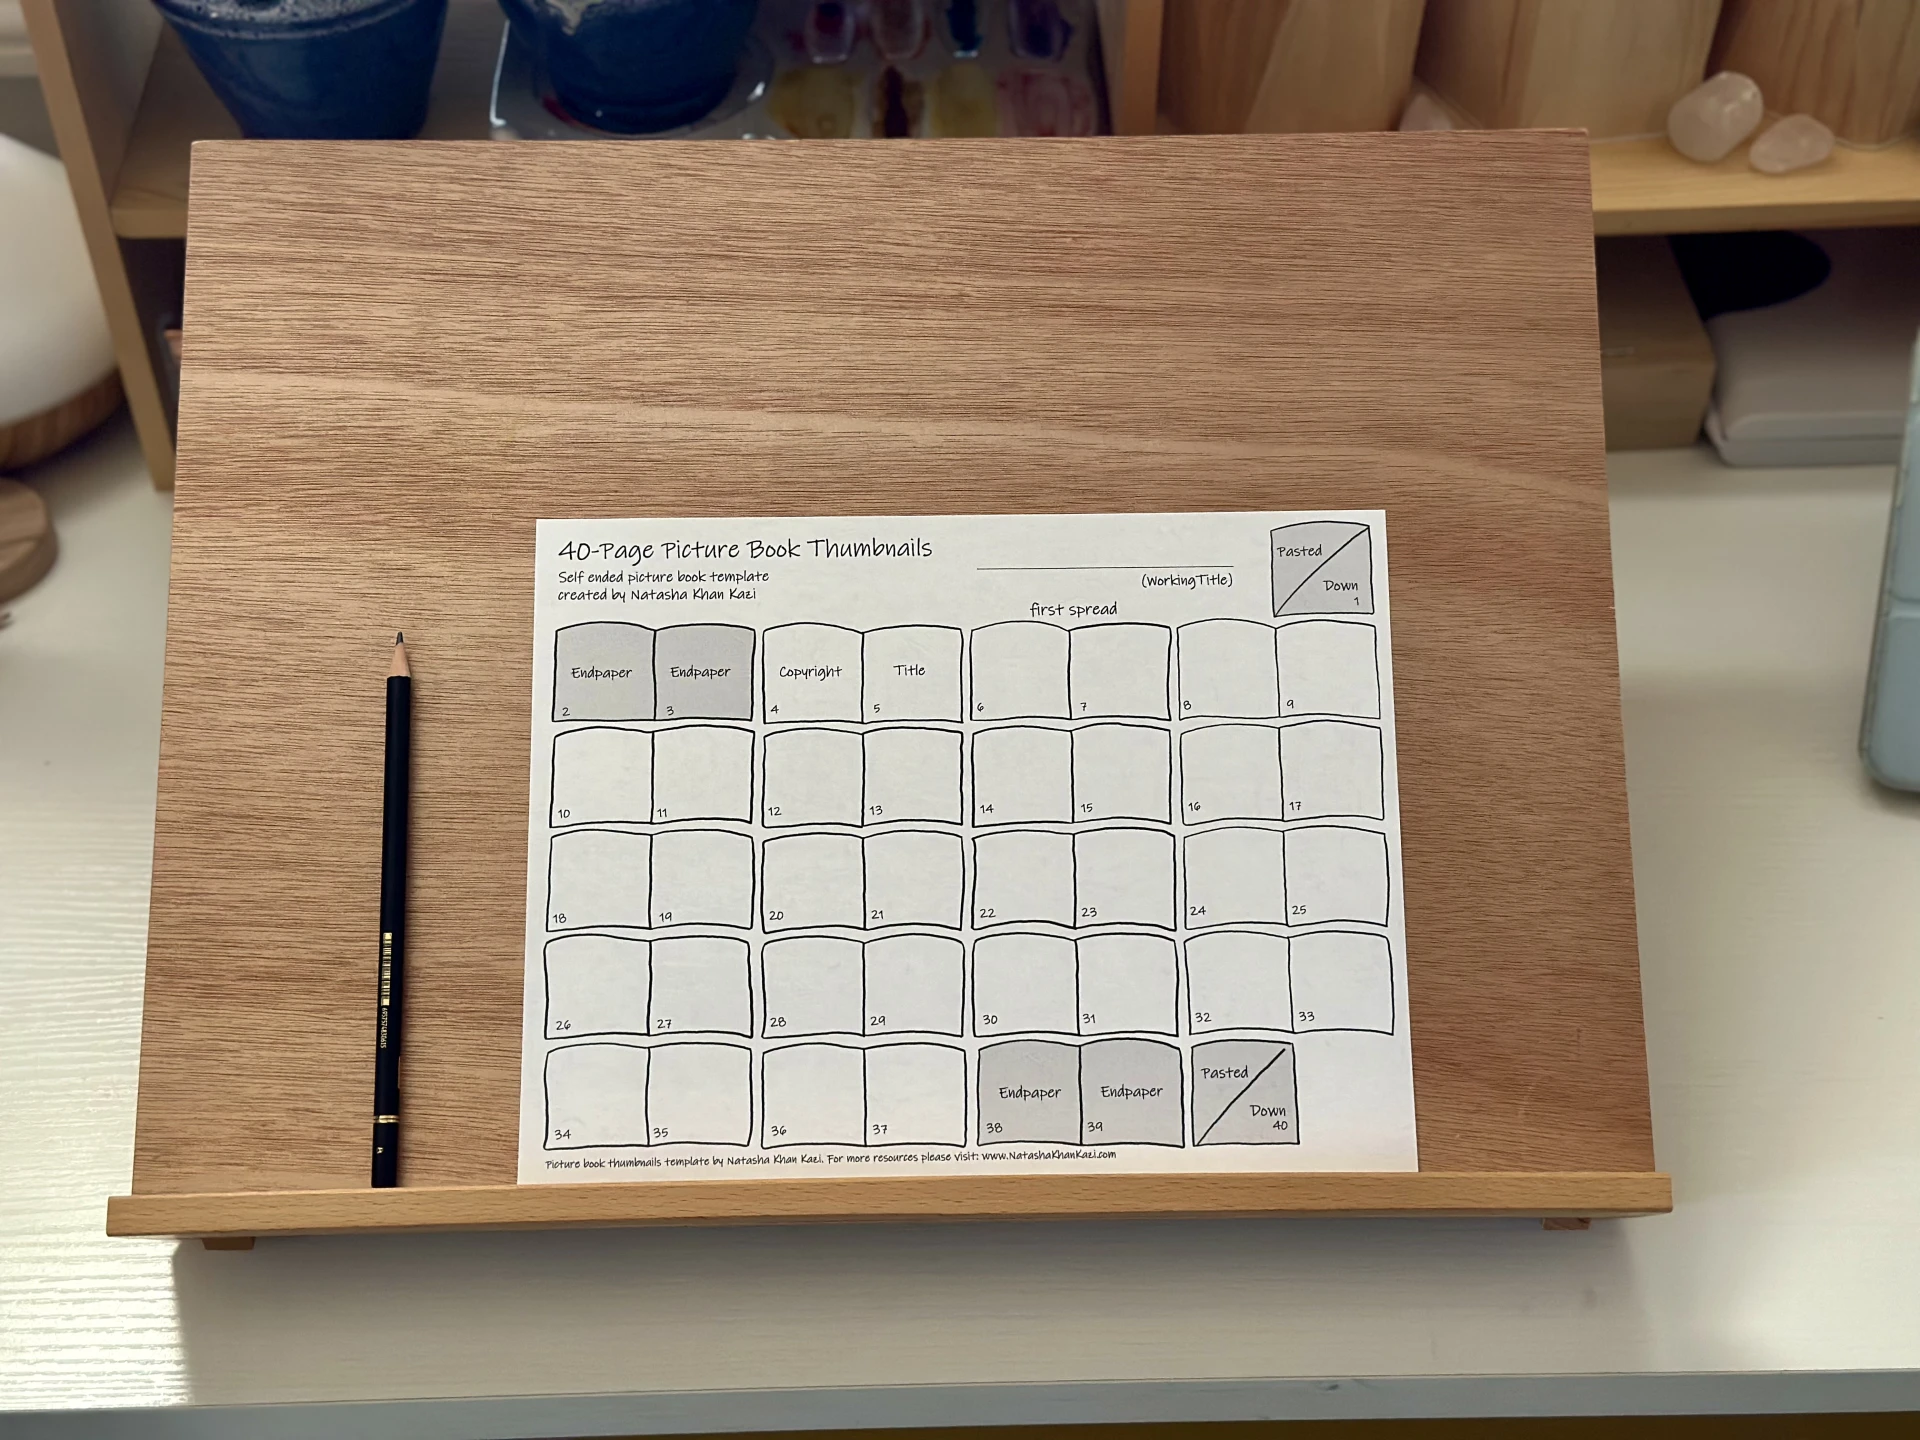
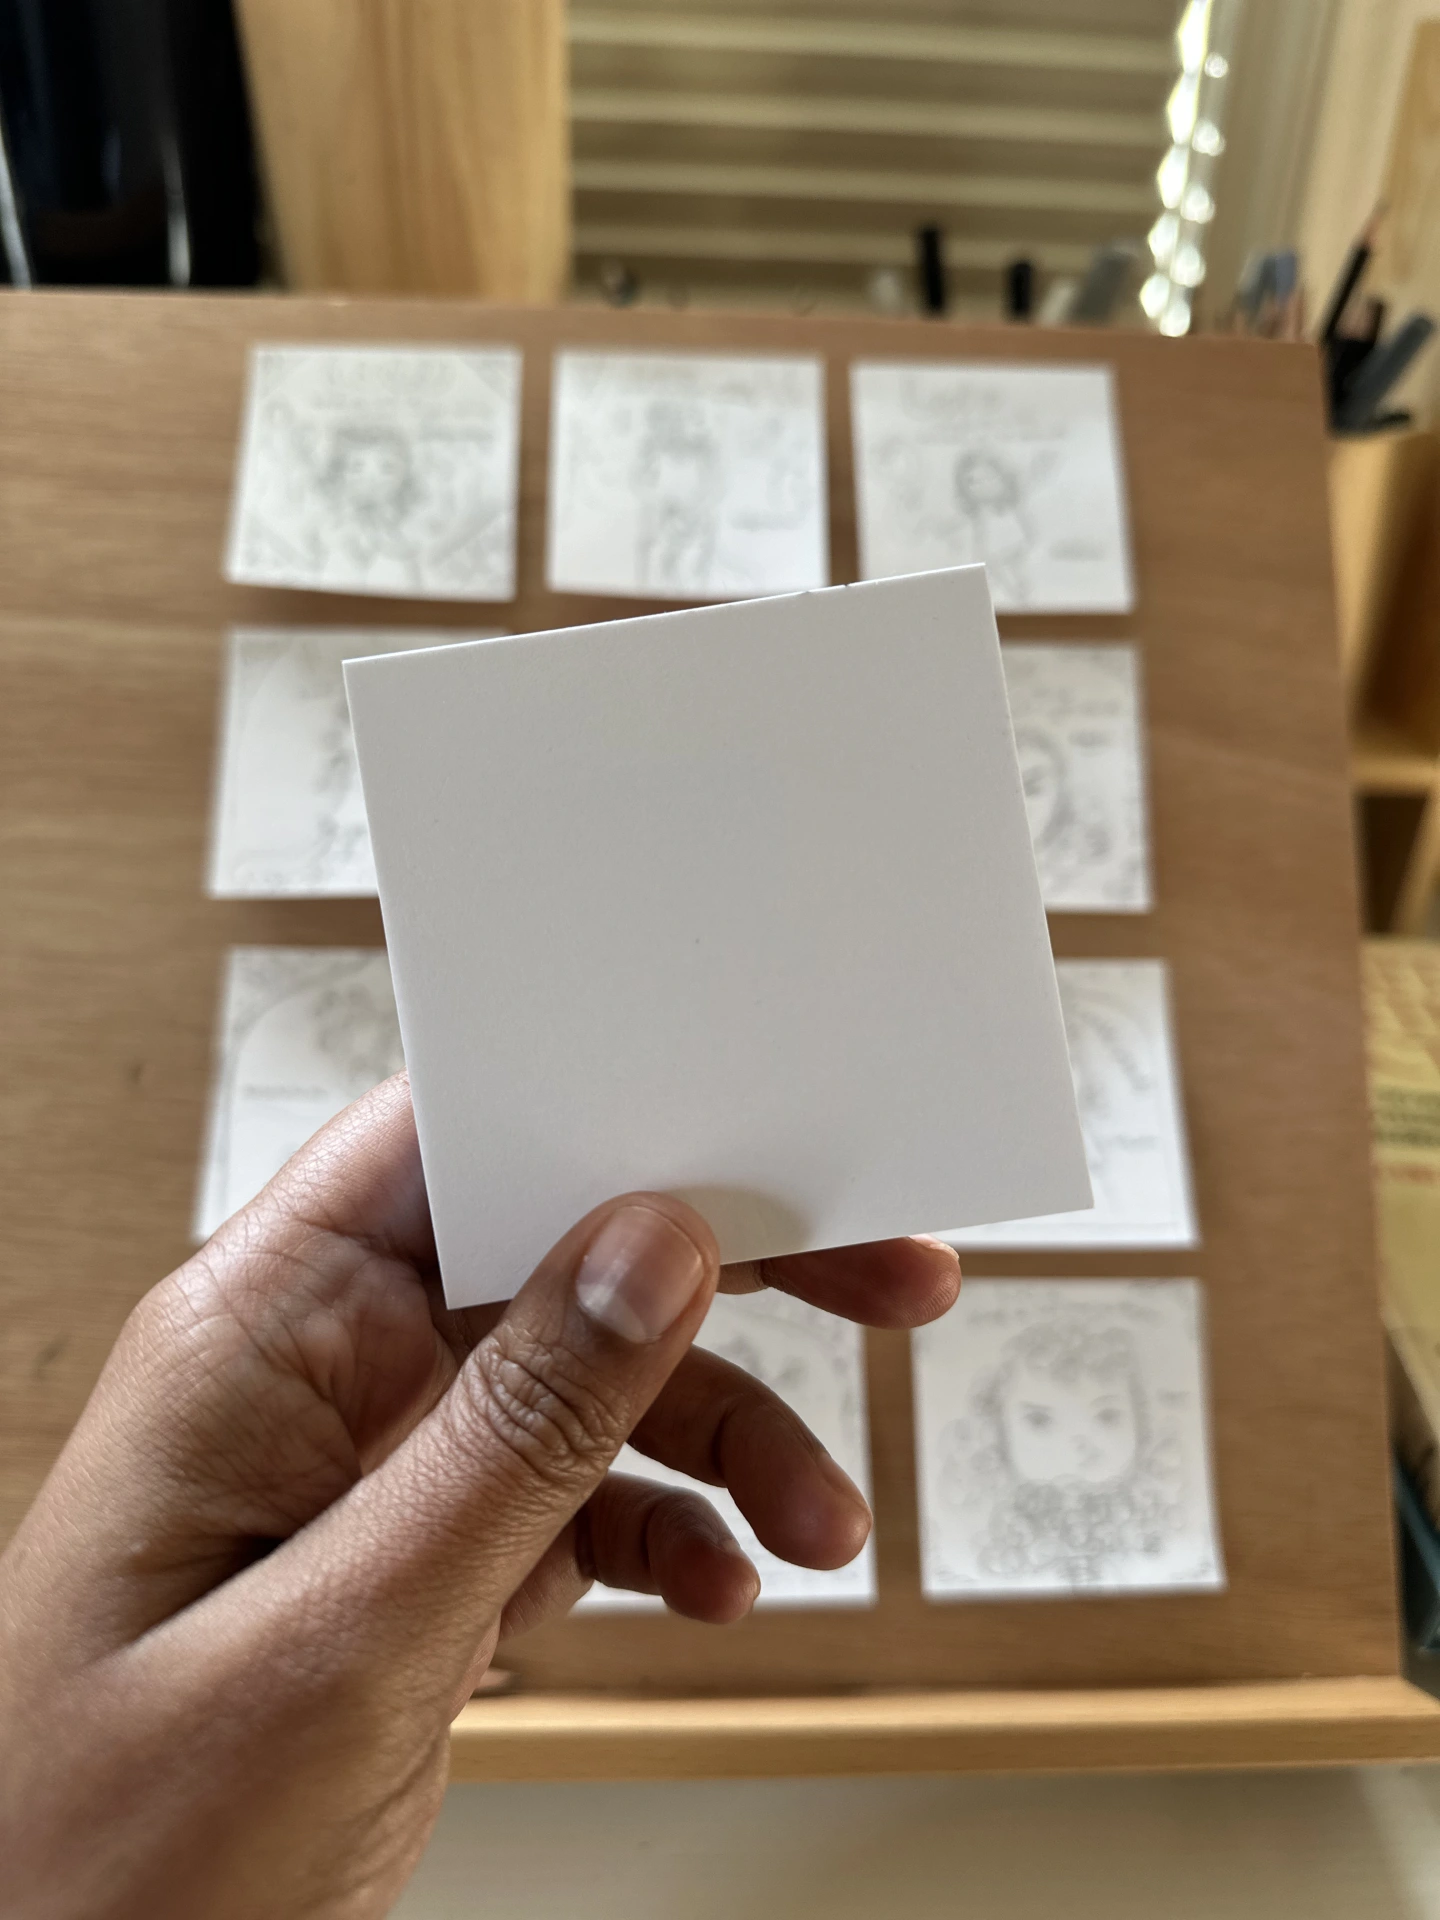
From those rough composition sketches, I select my favorite ideas to create thumbnails. Seeing all the compositions side by side allows me to see the story from a bird’s-eye view. I look for variety in emotion, movement, and overall design. There are thumbnail templates available online that are formatted for the 32-page/40-page picture book format, but I usually make my own storyboard with mini sticky notes.
7. Full-Scale Sketch Dummy
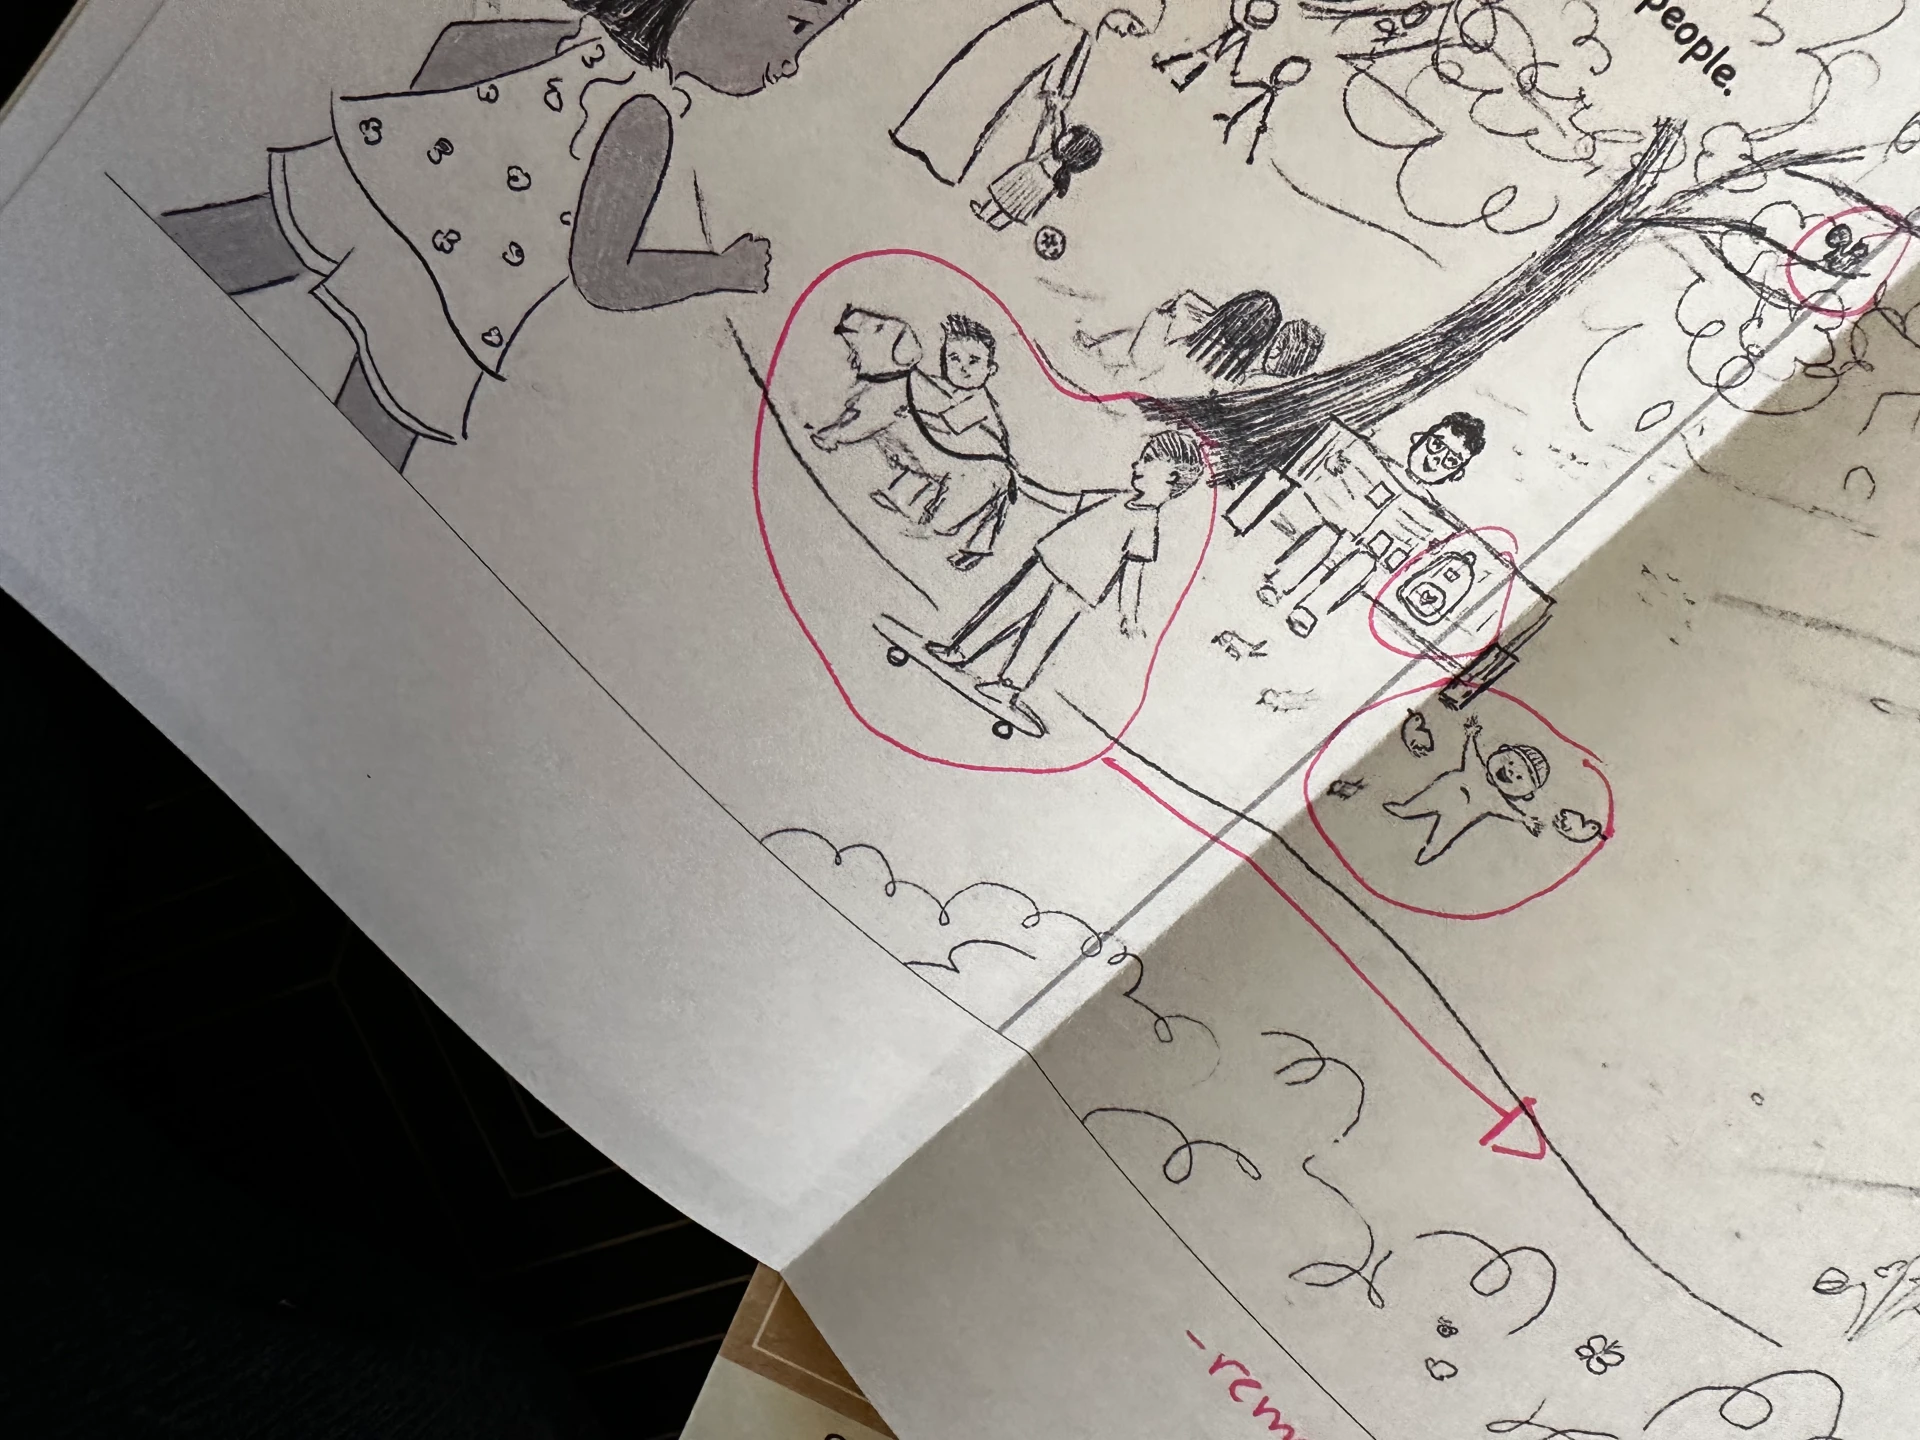
Finally, I sketch at size (most of my books are 10 x 10 inches). This stage is all about refinement, including checking word placement, ensuring important art is not near the gutter, confirming pacing, and verifying that earlier revisions remain effective. Significant changes should be minimal now.
***
I knew Bela and Lily were ready for my editor when I had pushed my creative process as far as I could. I met my editor, Zareen Jaffrey, at the Highlights Foundation Muslim Storyteller Symposium. After Kokila acquired the book, it continued to evolve through many rounds of making and remaking. I’ll be sharing even more examples from each stage in my Highlights workshop, From Idea & Sketch to Dummy & Submission: An Author/Illustrator Online Course. I hope you’ll join me to work on your own story’s journey from spark to submission.
